Your CAO contact details are the thread CAO and the institutions you applied to use to reach you. CAO puts it plainly in its terms: applicants are responsible for giving the correct email address and cellphone number, because all messages go by SMS or email, while letters go by email. No valid, current cellphone number, and you will not receive messages from CAO or the institutions. No valid email address, and you may miss requests or offers.
This tutorial walks you through updating your contact details on CAO — changing your email address, changing your cellphone number, and the checks to run afterwards so nothing important slips past you. It sticks to the official online route, which is the route CAO requires for contact changes.
Why updating your details matters so much
When an institution decides on one of your programme choices, CAO says it will send you a message if you have given it your email address or cellphone number. When you are made an offer, CAO will communicate that to you. Some institutions may also send letters or messages directly.
Let those details go stale, and the messages go to an old inbox or an old SIM card instead. That is how a request for a document, a deadline for accepting an offer, or an invitation to a test or interview gets missed — and missing a deadline can mean the place goes to someone else, even if you would have said yes.
Contact details are also tied to your acknowledgement letter. The letter contains the details you provided, and you are responsible for checking it and updating any errors online. If you do not correct errors or update changes within one week after CAO sends the acknowledgement letter, the information in the letter is treated as correct and complete. A known error is not something to leave until later in the year.
Before you start: what you need
You will need:
- Your CAO number and password, for the applicant login that Update My Details uses - not the password-free status checker.
- Your new email address, one you can currently open.
- Your new cellphone number, on a SIM card that is active so messages can reach you.
- A device with a steady connection for reaching cao.ac.za.
Try not to start the update on a shared or public device. If you have no choice, log out completely afterwards and do not let that browser save your password.
One distinction is worth getting straight before you begin. Check My Application, the status checker, uses one identifier only — your CAO number, South African ID number or passport number — and no password. Updating your details is a different job. It uses the applicant login, with your CAO number and password, through the Update My Details function. Do not try to update details through the status checker.
Can you update your details at any time?
According to CAO's 2027 FAQs, changing your contact details costs nothing, and you can do it as often as you need to. One condition applies: your application has to be fully completed and fully paid for before you can make the change.
So if you have not yet finished your application, or you still owe part of the administration fee, complete and pay for the application first. A payment normally only reflects on CAO's system on the next business day, so allow for that delay before trying an update that depends on a paid application.
How to update your contact details on CAO: step by step
The steps below follow CAO's official guidance in its 2027 FAQs:
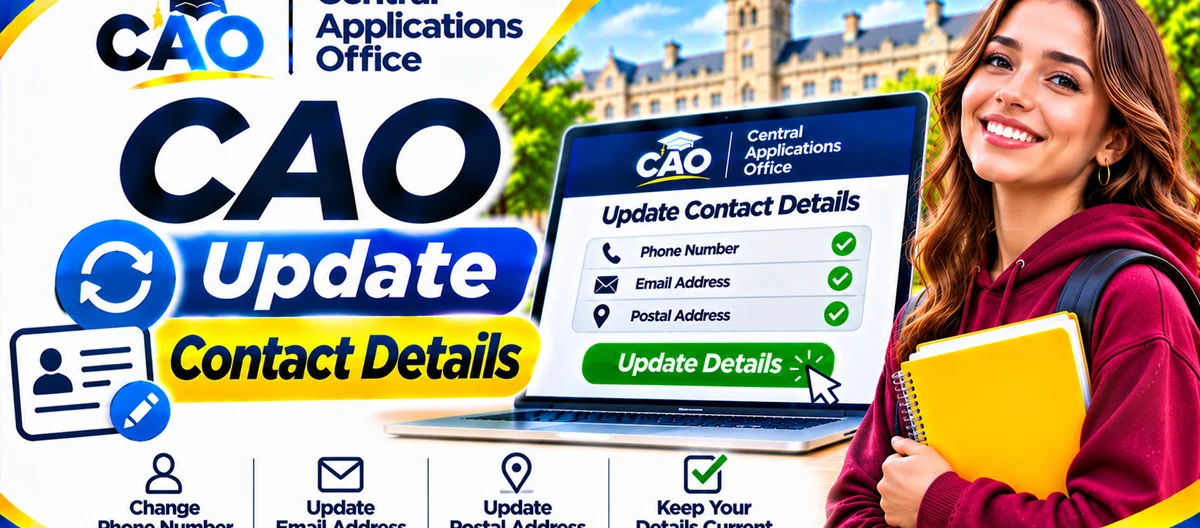
- Open cao.ac.za and click the "Update My Details" icon.
- Type in your CAO number and password to sign in.
- Work through the prompts on screen. After you sign in, you will see menu options down the left navigation bar.
- Pick the field - or fields - you want to change.
- Type in your new information with care.
- Choose "Summary details" to look over your changes, with your current and updated information shown next to each other.
- When you are sure the updates look right, click "Process My Updates" to send them in.
- A message will appear on screen saying your updates have been processed.
- Click "Logout" once completed.
Do not close the browser before that processed message appears. Closing early can leave you unsure whether the change actually saved. If you are unsure, sign in again and check the summary view before assuming the update worked.
How to change your email address on CAO
Changing your email address follows the same Update My Details route. The whole point is to use an address you actually control and check regularly.
Step by step for an email change
- Sign in through Update My Details using your CAO number and password.
- Select the email address field.
- Remove the old address in full and type the new one carefully. Watch for the usual slips: a letter left out, a wrong domain, or an extra character.
- Look over the change in "Summary details", where the old and new addresses sit side by side.
- Click "Process My Updates" and wait until the processed message appears.
- Sign out, then check the new inbox - spam or junk included - for a CAO message that confirms the change or arrived after the update.
Use a personal email address — not a school address you will lose access to, and not an address shared with someone else. If a parent or guardian also monitors the address you use, make sure you will still see CAO messages promptly yourself. An offer deadline will not wait because an inbox went unchecked.
After changing your email address, think about password resets too. CAO sends a temporary password by email or SMS, depending on the option you choose, to the address or number on your application. Change your email address, and a later password reset will go to the updated details — provided the update was processed correctly.
How to change your cellphone number on CAO
Your cellphone number matters just as much as your email address, because many CAO and institution messages arrive by SMS. A number tied to a lost SIM, a disconnected line or someone else is a straight road to missed messages.
Step by step for a cellphone change
- Open Update My Details and sign in with your CAO number and password.
- Select the cellphone number field.
- Type the new number in full, in the format the form shows, and check every digit twice.
- Check the change in "Summary details" before you send it in.
- Click "Process My Updates", then wait for the processed message to show.
- Sign out, then make sure the new number works by confirming you can receive SMS messages on that SIM.
Changed networks but kept the same number? Then the number itself does not need changing — but check that SMS delivery still works. Got a new SIM with a new number? Update CAO immediately, even if you still have access to the old email address. CAO and institutions may use either channel, and both need to be current.
Do not give CAO a number you do not control, such as a friend's number or a temporary number you will soon throw away. If a parent or guardian's number is on your application as a contact, make sure that person will pass messages to you without delay — and consider whether your own number should be the primary contact instead.
Common mistakes to avoid
Updating only one channel
If you change your email address but leave an old cellphone number, or the other way round, half your messages may still go to the wrong place. Update both if both have changed, and check both after the update.
Typing the new detail incorrectly
A new email address with one wrong letter is worse than an old address you still check, because messages will go nowhere you can see them. Type slowly, read the summary side by side, and, if you can, get someone else to check the new address and number against the actual inbox and SIM.
Not processing the update
Typing in a new detail does not save it on its own. Click "Process My Updates" and wait for the message that says your updates have been processed. If you type the detail and then log out without doing that, your change might never go through.
Forgetting to check after the update
Once you have updated, check your status through Check My Application, look in your new email inbox and your SMS inbox, and see whether your acknowledgement or summary information shows the change where it belongs. If a later CAO letter still carries your old details, run the update again, and get in touch with CAO through its official channels if the problem keeps happening.
Sharing your login to get help
Keep your CAO number and password to yourself, even if someone offers to update your details for you. The official route is free and simple to use on your own. Anyone who logs in as you could change your programme information, your contact details and other personal data without you knowing.
What to do if you cannot log in to update your details
If you have forgotten your password, use the new-password option on the official login page. You will need to type in your CAO number, ID number and surname exactly as they appear on your online application, along with the validation code shown on screen. Once the system checks those details, it will send you a password by email or SMS, based on the option you pick.
Where your email address or cellphone number has already changed, CAO notes that you need to update your details first. A temporary password also lasts only 24 hours, so after that you should use the Change Password function to choose a permanent password. If a reset cannot reach you because both contact channels are out of date, ask CAO for guidance through the contact details shown on cao.ac.za instead of starting a new application.
If your application is not fully completed and fully paid for yet, the usual update route will not work for you. Finish the application and pay first, give the payment a business day to show up, and then try Update My Details again.